โ† All skill cards

๐ŸŽ“ Skill cardL1design making~60 minAges 11โ€“16

Workshop Safety

The rules, the four machines, the quiz and the smiley-face practical. Finish all of it before you use a machine on your own project.

Workshop Safety

In this skill card

  1. Learn20 steps
  2. Quiz30 questions ยท every answer right to pass
  3. PracticalThe teacher watches each student do it
What students will be able to do

Demonstrate safe use of the drill, the scroll saw and the disc sander by making the cardboard smiley face, after scoring 100% on the safety quiz.

  • Student can state the personal safety rules of the workshop: goggles, tied hair, no gloves, closed shoes.
  • Student can describe safe use of the pedestal drill, hand drill, scroll saw and disc sander.
  • Student can explain what to do when a machine breaks, when they are hurt, or when they don't know how to use something.

Also buildsATL Self-ManagementCASEL Responsible Decision-Making

Closed shoes. Every lesson.
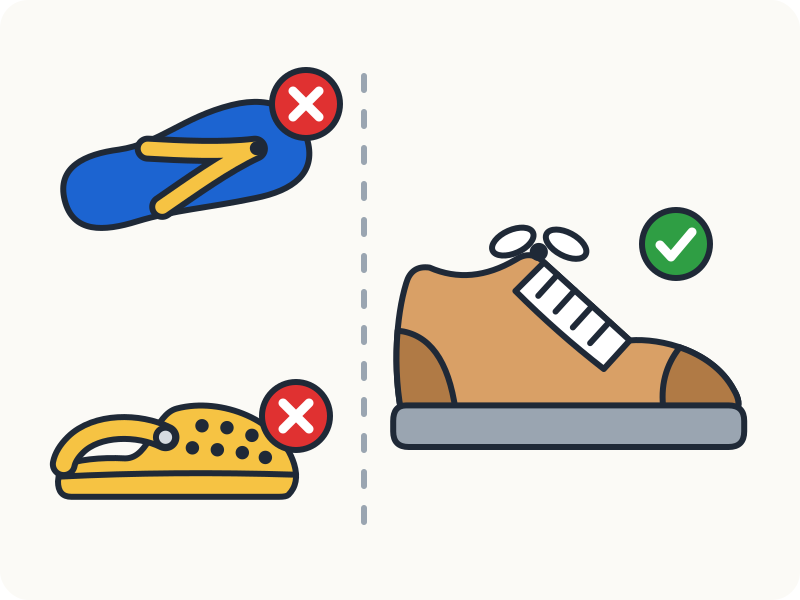
Closed shoes. Every lesson.

No flip-flops. No Crocs. No sandals.

If something heavy or sharp drops, your shoes are all there is between it and your toes.

Tie it back, tuck it in
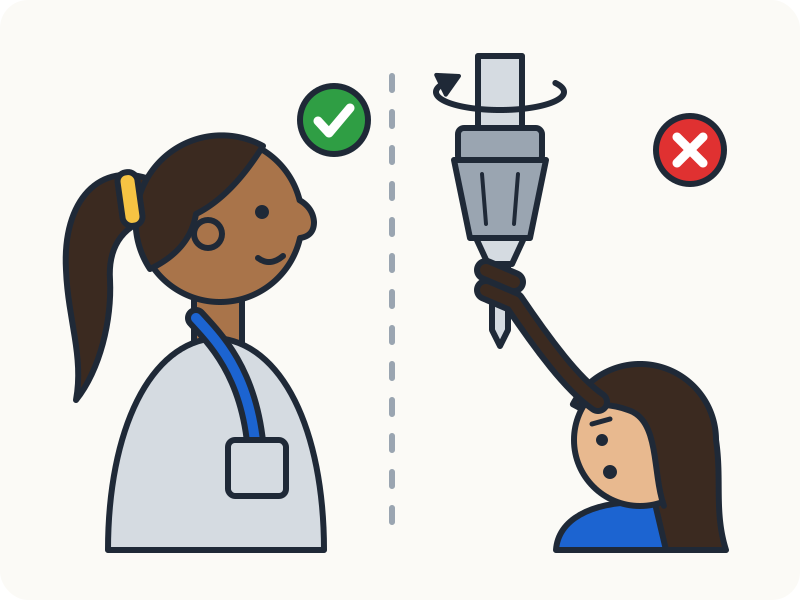
Tie it back, tuck it in

A spinning machine grabs anything loose and pulls it in. You come with it.

  • Long hair tied back
  • Lanyard in your pocket
  • Hoodie strings and sleeves tucked away

The injury that happens most

The injury that happens most

It is not a cut finger. It is dust or a tiny piece of metal in the eye.

Almost every time, the person was not wearing eye protection.

Goggles on for every electric tool

Goggles on for every electric tool

Every electric tool. Every time. Even for a ten-second job.

Tips
  • If you see Mr B using a machine without goggles, he buys you a bubble tea.

If it breaks, stop and tell me
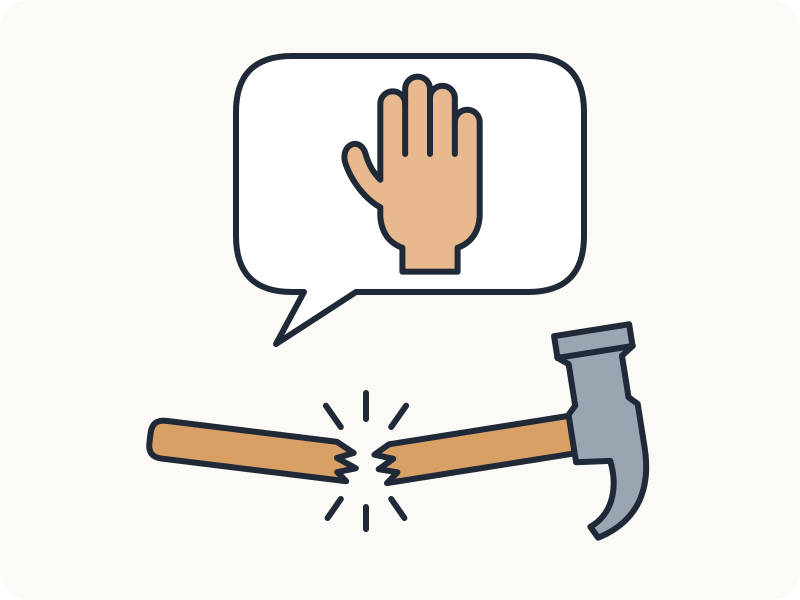
If it breaks, stop and tell me

I will never be angry about something that broke, or about a real accident.

  • Machine broken? Don't use it. Tell Mr B.
  • Blade snapped? Stop the machine, find a teacher, ask for a new one.
  • Hurt, even a tiny bit? Stop the machine and tell the teacher straight away.

No gloves near spinning machines
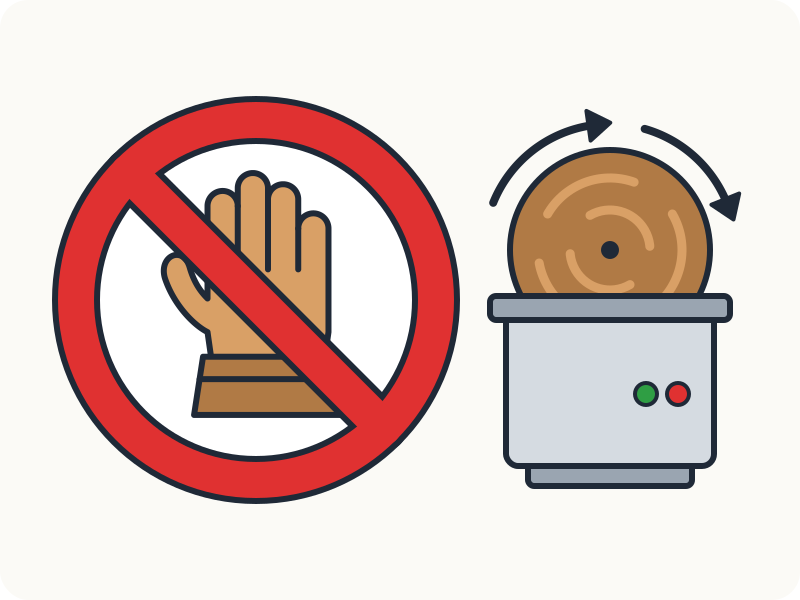
No gloves near spinning machines

Gloves feel safer. On the drill or the sander they are the opposite: a glove catches and pulls your whole hand in.

One student per machine
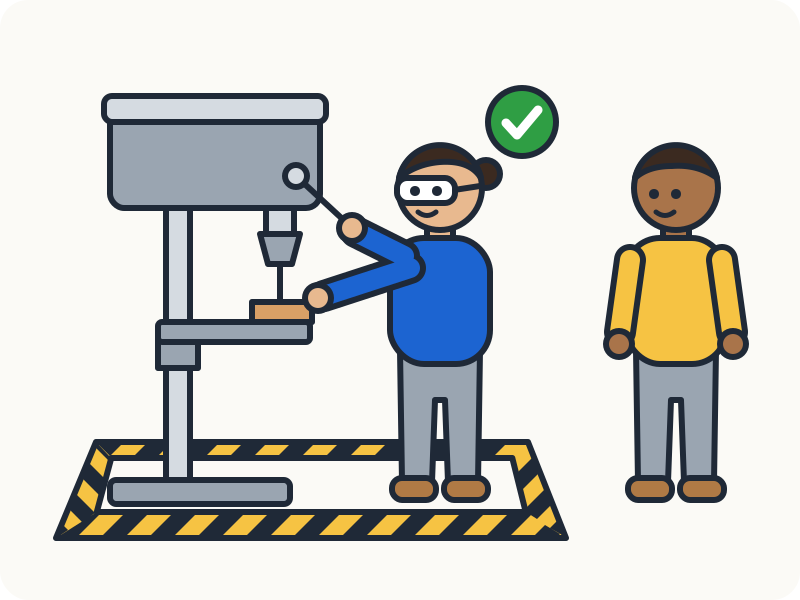
One student per machine
  • One student at a machine at a time
  • Don't lean on a machine someone is using
  • Don't talk to someone who is using a machine
  • No running, no throwing, no food or drink

Ask first
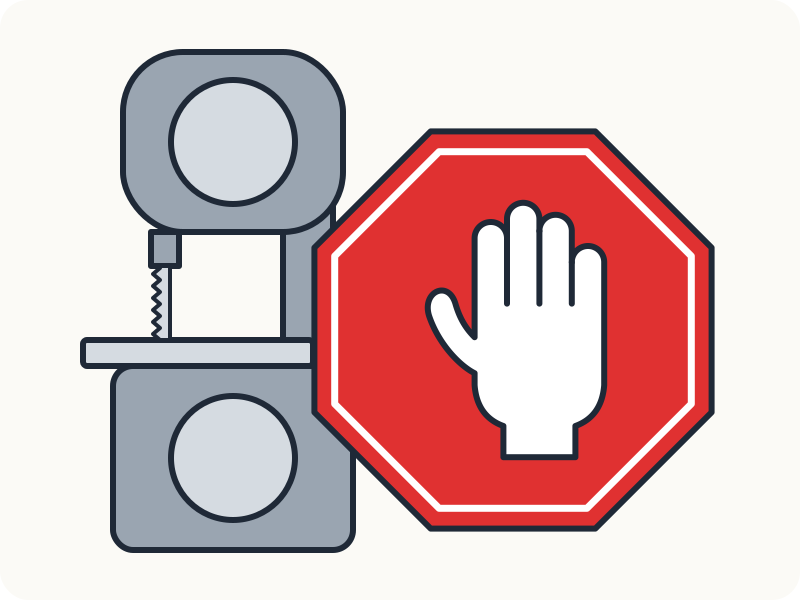
Ask first
  • The band saw needs Mr B's permission, every time
  • The machines in the back area are not for students: they are the most dangerous ones
  • No teacher in the room? No machines.
  • Not sure how to use something? Ask. Never guess.

Pack up in this order
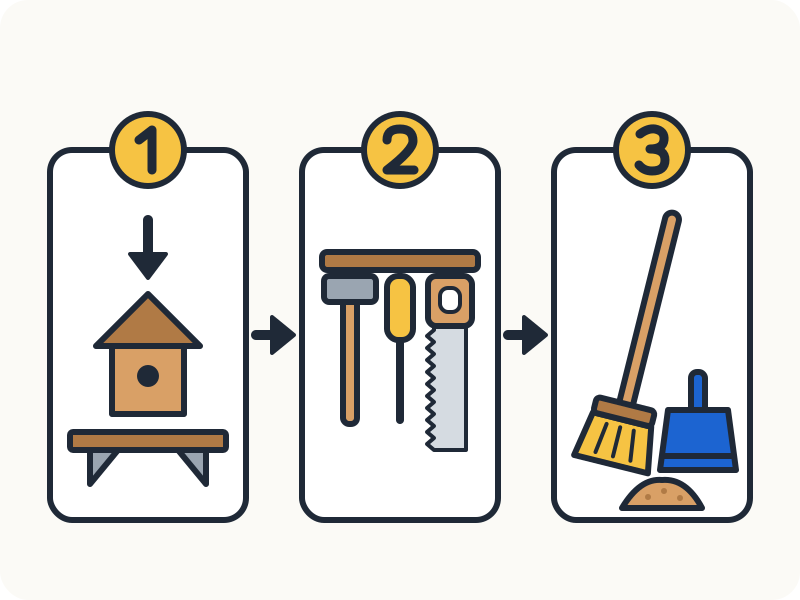
Pack up in this order
  1. Work away
  2. Tools away
  3. Mess away

And before you walk away from any machine: switch it off and clean up around it.

The emergency stop

The emergency stop

The big red button stops the machine straight away.

Know where the nearest one is before you switch on. Mr B shows you in the demo.

Now watch the demo
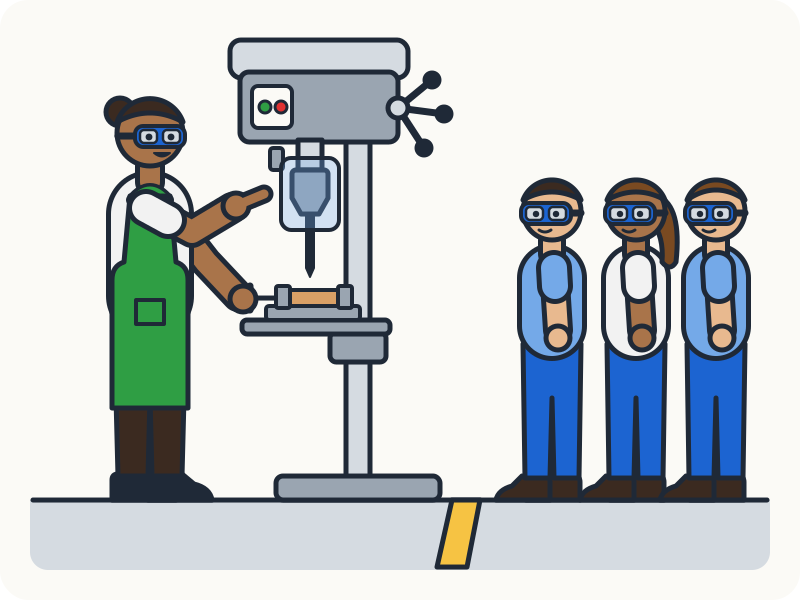
Now watch the demo

Close your laptop and come to the machines. Mr B shows you each one:

  1. Pedestal drill
  2. Hand drill
  3. Scroll saw
  4. Disc sander

Stand behind the line with your goggles on. The next four steps are your reminders.

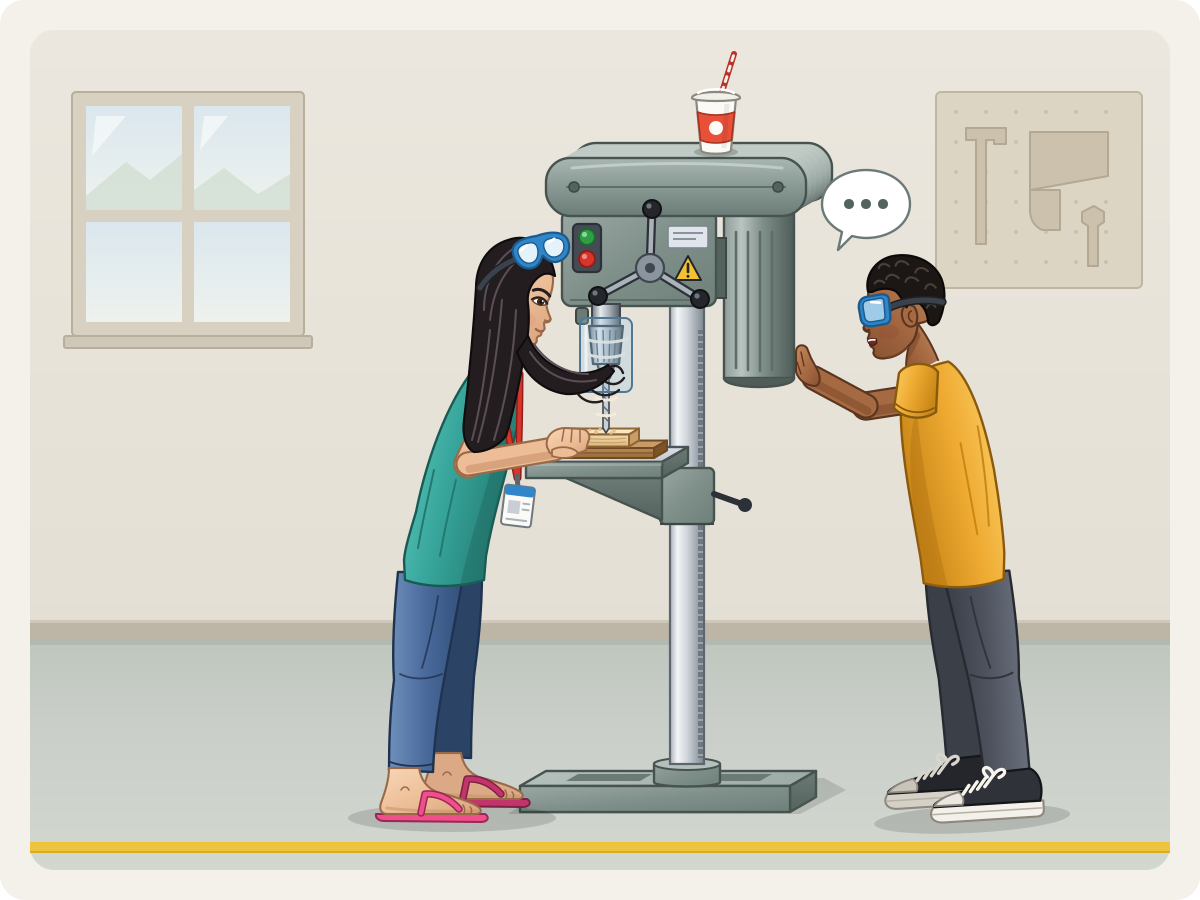
Pedestal drill
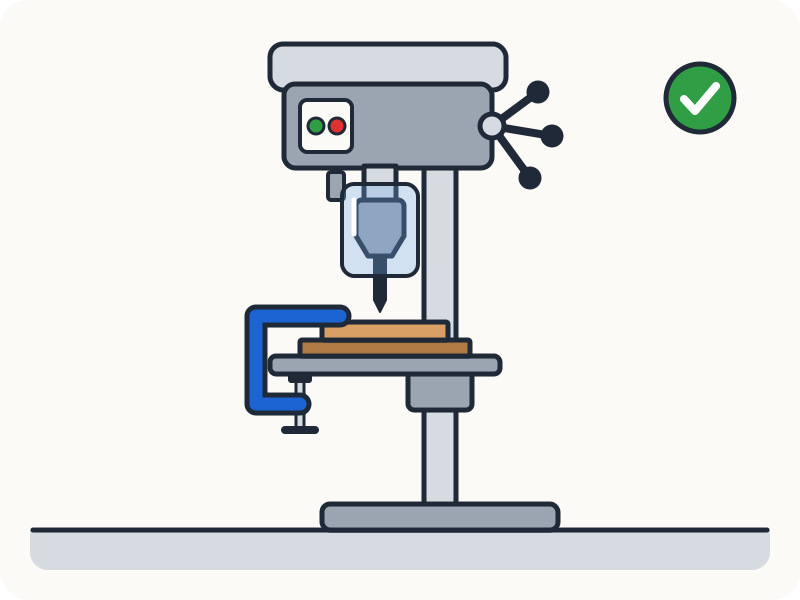
Pedestal drill
  • Goggles on
  • Scrap wood underneath, so you don't drill into the table
  • Clamp the work. Never hold it by hand
  • Guard down
  • Test, then drill

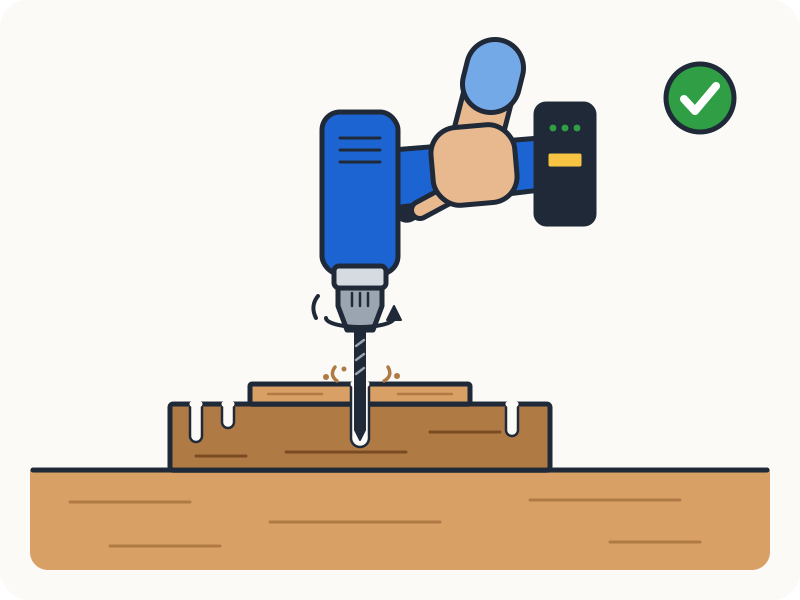
Hand drill

Hand drill
  • Goggles on
  • Scrap wood under your work: not into the table, not in the air, not on the floor
  • Ask how to change the bit before you need to

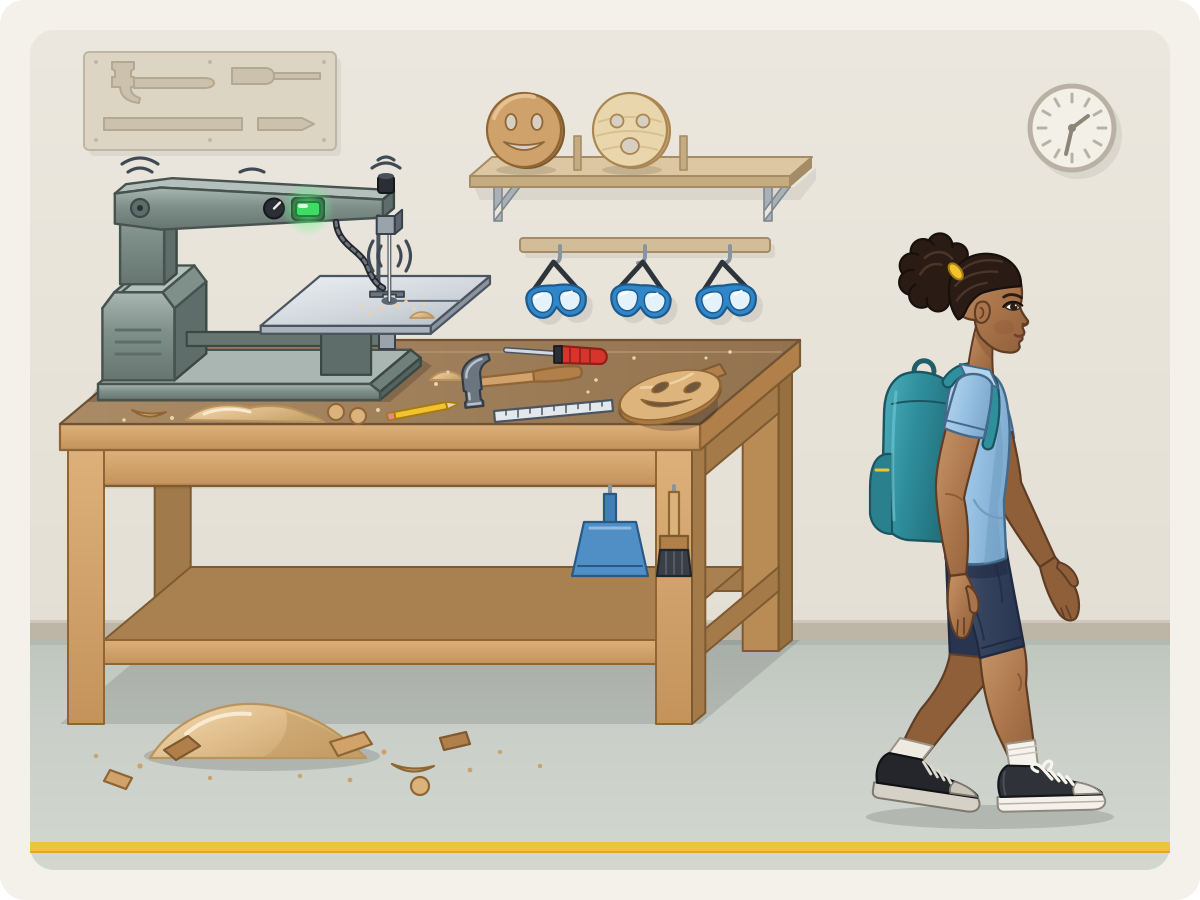
Scroll saw
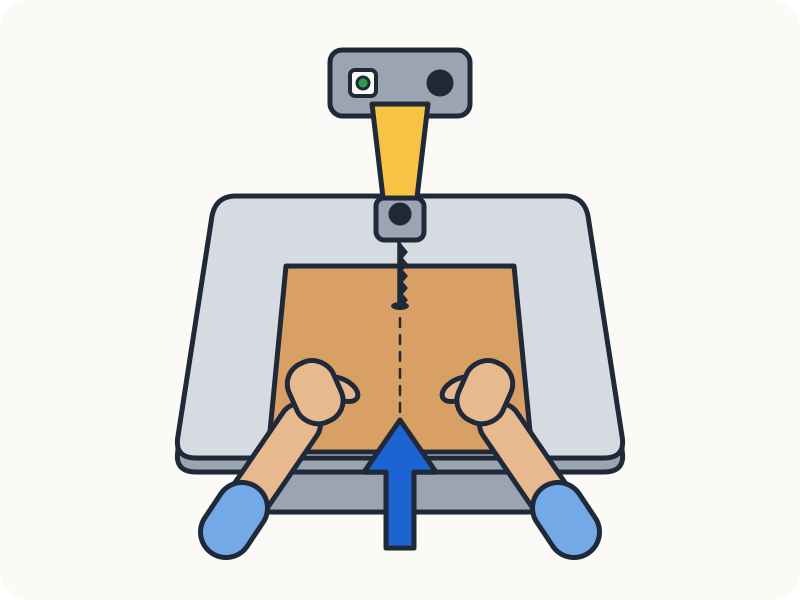
Scroll saw
  • Goggles on
  • Go slow
  • The blade only cuts at the front: feed the wood straight in
  • Blade snapped? Stop the machine, find a teacher, ask for a new one

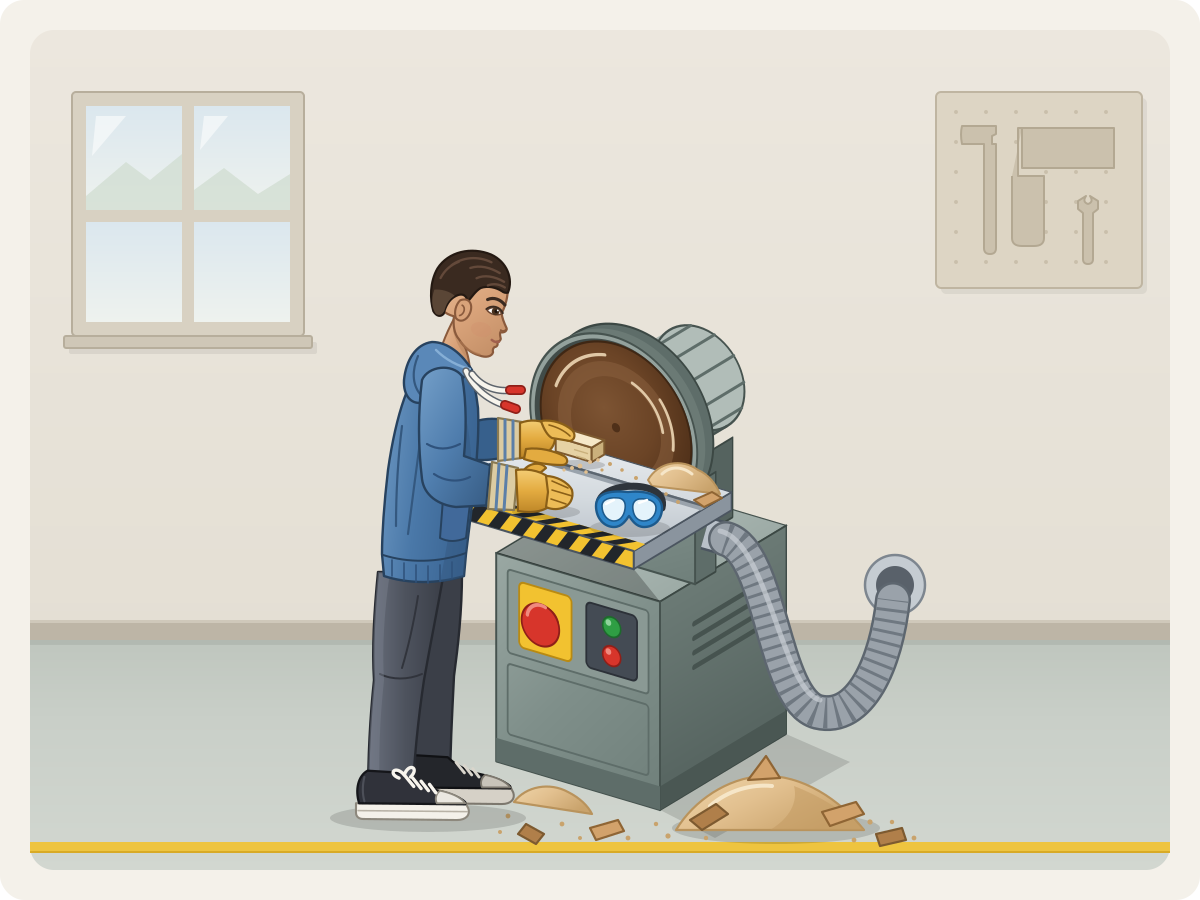
Disc sander
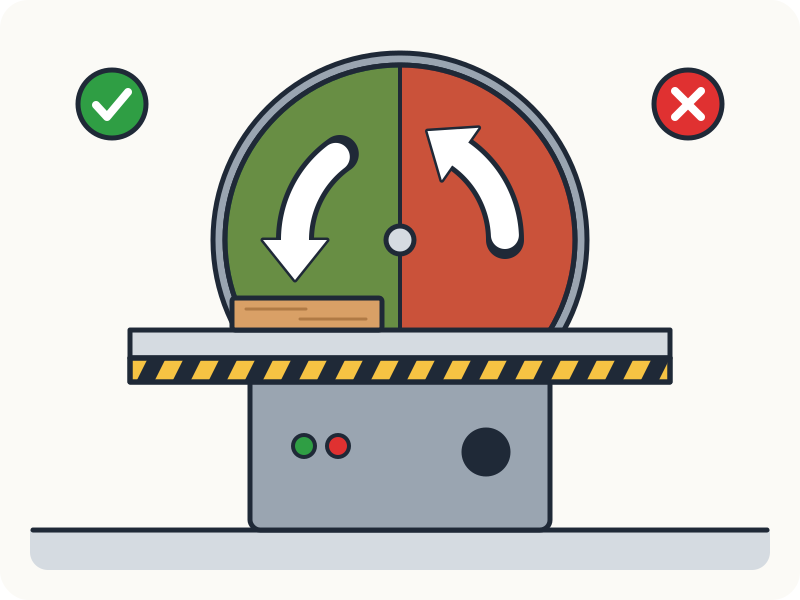
Disc sander
  • Use the left side of the disc only
  • Keep the wood flat on the table
  • Nothing smaller than the yellow and black tape: any smaller and your fingers are too close

Triple check, every time
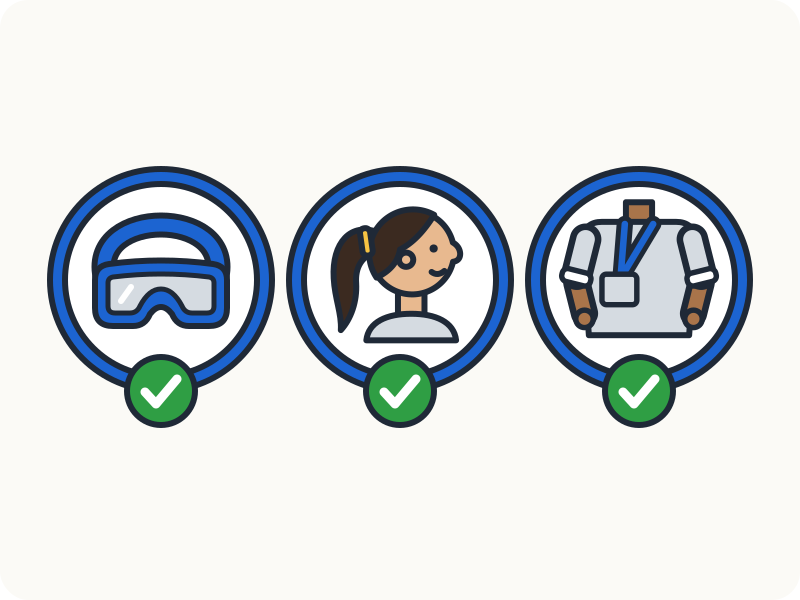
Triple check, every time

Before the motor goes on:

  1. Goggle check
  2. Hair check
  3. Body check: sleeves, lanyard, hoodie strings
Tips
  • Dust and offcuts already on the machine? Clear them before you start.
How students earn it

  1. Quiz

    30 questions ยท every answer right to pass

    Taken in StudioLoom. The questions are not shown on this page.

  2. Practical

    The teacher watches each student do it

    Make a smiley face

    Make a smiley face

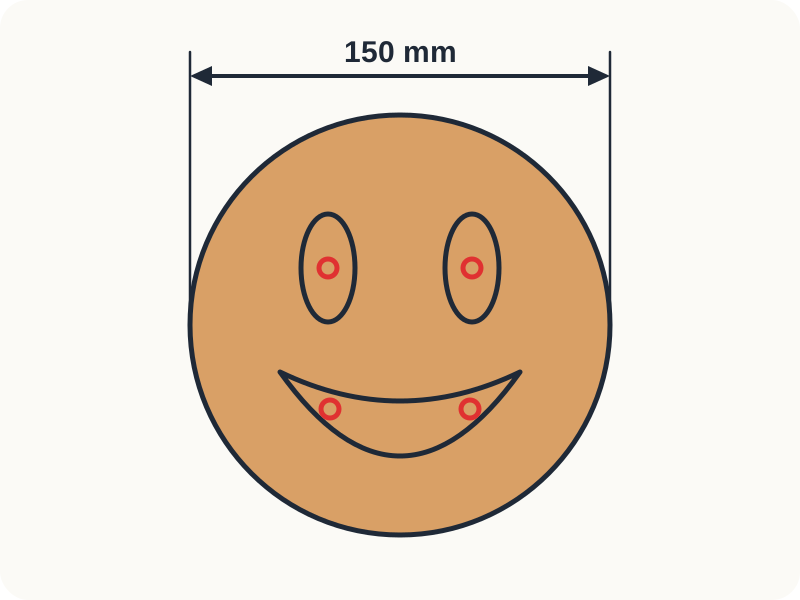
    This is your practical. You make a smiley face from cardboard, on three machines: the drill, the scroll saw and the disc sander.

    Follow the method below, one step at a time. At the end, take a photo and upload it here.

    How to make it

    Practical workshop safety test to demonstrate ability to use a drill, scroll saw, and disc sander

    What you'll need2
    Tools
    • Cordless drill/driver
    Materials
    • Cardboardร—1 piece (the face is 150 mm wide)
    Step 1 of 15
    1. Collect your piece of cardboard, a pencil, a ruler, and a compass.

    The teacher signs it off after seeing all of these:

    • Did the triple check before each machine: goggles on, hair tied back, nothing loose.
    • Drilled the pilot holes with scrap wood under the card.four holes: one in each eye, two in the mouth
    • Cut out the eyes, the mouth and the outside edge on the scroll saw, slowly, feeding from the front.
    • Sanded the edge on the left side of the disc, with the card flat on the table.
    • Switched each machine off and cleaned up before leaving it.

The skill is theirs when the quiz is passed and the teacher has signed off the practical. It is recorded where their teacher can see it.

Use skill cards with your class